Mumbai Style Vada Pav Recipe (वड़ा पाव)
Mumbai’s legendary street food made with crispy potato vada, spicy garlic chutney and soft pav buns. This authentic Vada Pav recipe delivers the perfect balance of crunch, spice and flavor.
Recipe At A Glance
Recipe Summary
About This Recipe
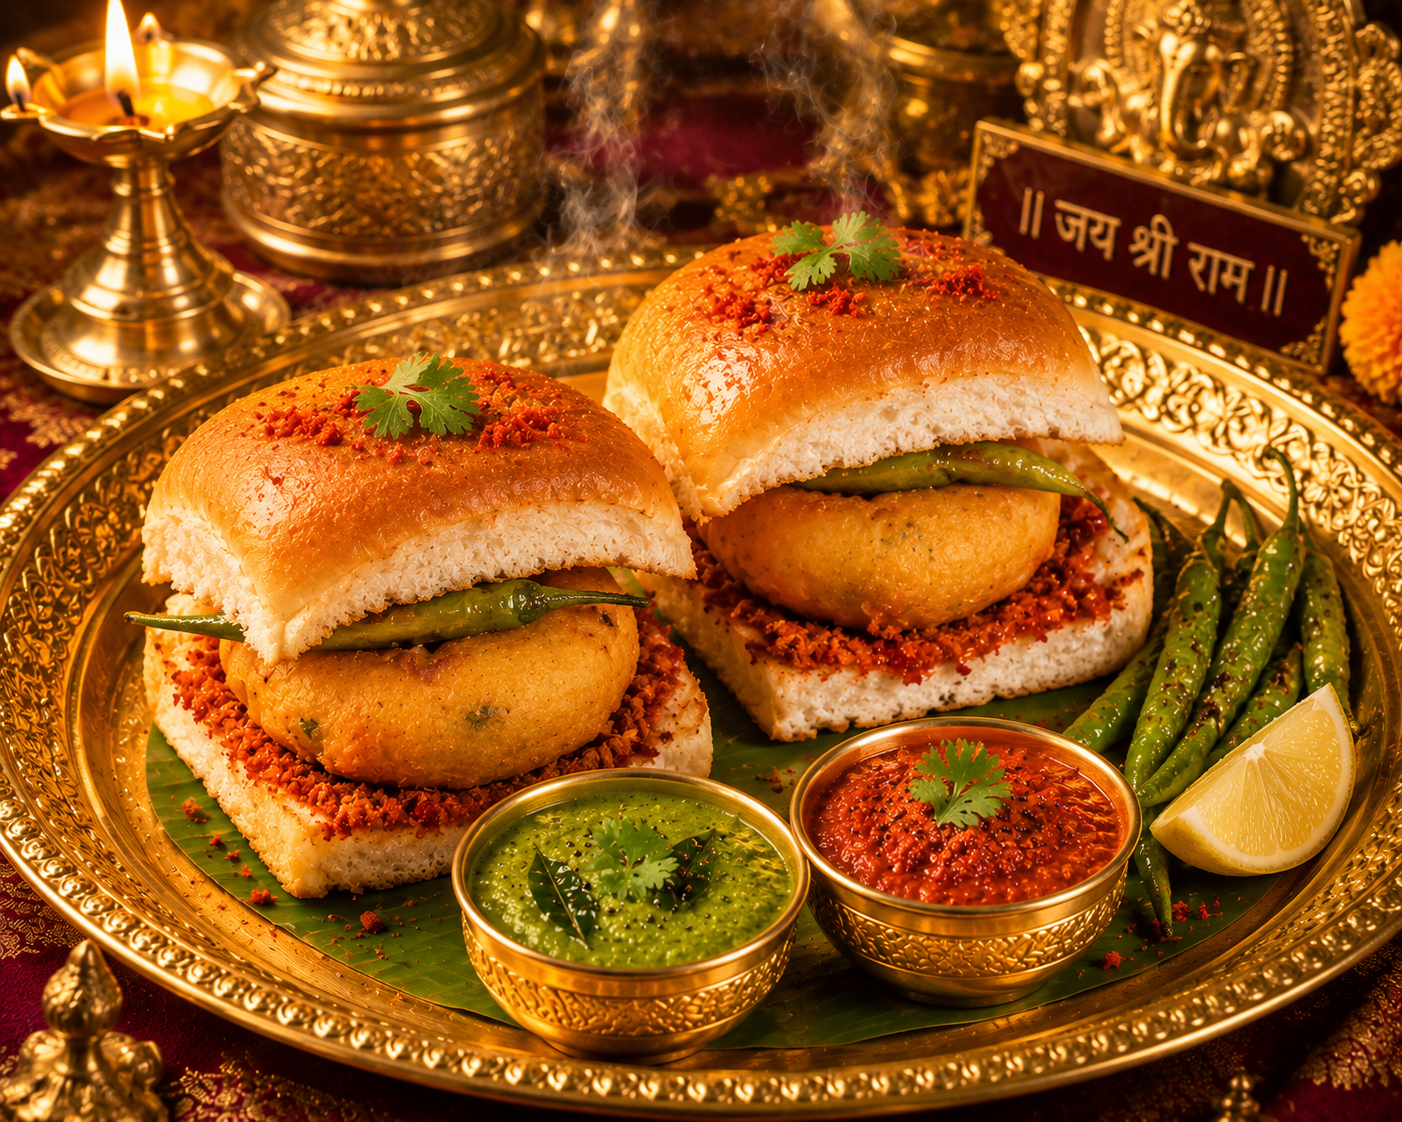
Vada Pav is often called the “Indian Burger” and is one of Mumbai’s most iconic street foods. It consists of a spicy potato fritter (batata vada) sandwiched inside a soft pav bun and layered with dry garlic chutney. Served with fried green chilies, Vada Pav is loved for its bold flavors, satisfying texture and affordability.
Why You’ll Love This Vada Pav Recipe
- ✔ Authentic Mumbai street-style flavor.
- ✔ Crispy golden potato vada every time.
- ✔ Easy ingredients available in most kitchens.
- ✔ Perfect balance of spice and crunch.
- ✔ Great snack for parties and gatherings.
- ✔ Beginner-friendly recipe.
- ✔ Includes traditional garlic chutney.
- ✔ Tastes just like roadside stalls in Mumbai.
- ✔ Can be customized with different chutneys.
- ✔ Family favorite street food recipe.
For The Potato Vada
For The Batter
For Assembly
Ingredient Substitutions
- Whole wheat pav can replace regular pav.
- Sweet potatoes can replace regular potatoes.
- Rice flour can be added for extra crispy batter.
- Green chutney can be used along with garlic chutney.
- Air frying can replace deep frying.
Step-by-Step Instructions
Prepare the Flavorful Potato Filling
Heat oil in a pan over medium heat. Add mustard seeds and let them splutter. Stir in curry leaves, finely chopped ginger, green chilies, and turmeric powder. Sauté for a minute until aromatic, then add the mashed potatoes, salt, and fresh coriander. Mix well until everything is evenly combined. Remove from the heat and let the mixture cool completely.
👨🍳 Chef Tip:
Always cool the potato mixture before shaping. Warm filling becomes sticky and may break apart while coating with batter.
Shape the Potato Vadas
Once the filling has cooled, divide it into equal portions and roll each into smooth, round balls. Press gently to ensure they hold their shape.
👨🍳 Chef Tip:
Keep all the vadas the same size so they cook evenly and look more appealing when served.
Prepare the Besan Batter
In a mixing bowl, combine gram flour (besan), turmeric powder, red chili powder, a pinch of baking soda (optional), salt, and a little water. Gradually add more water while whisking until you get a smooth, lump-free, thick batter that can coat the vadas evenly.
👨🍳 Chef Tip:
The batter should be thick enough to cling to the potato balls without dripping excessively. Whisking well makes the coating lighter and crispier.
Heat Oil
Pour enough oil into a deep pan or kadai and heat it over medium flame. To check if the oil is ready, drop a small amount of batter into the oil—it should rise to the surface immediately without browning too quickly.
👨🍳 Chef Tip:
Maintain the oil temperature between 170–180°C (340–355°F). Oil that’s too hot burns the coating, while cooler oil makes the vadas greasy.
Fry Until Golden and Crispy
Dip each potato ball into the prepared batter, ensuring it’s fully coated. Carefully slide it into the hot oil and fry in batches until golden brown and crisp on all sides. Remove and drain on paper towels.
👨🍳 Chef Tip:
Avoid overcrowding the pan. Frying a few vadas at a time keeps the oil temperature steady and results in extra-crispy vadas.
Prepare The Pav
Slice each pav horizontally, leaving one side attached. Lightly toast the pav with a little butter on a hot tawa until soft inside and lightly crisp outside.
👨🍳 Chef Tip:
Freshly toasted pav adds a delicious buttery aroma and gives the authentic Mumbai street-food experience.
Assemble Vada Pav
Spread spicy dry garlic chutney on one side of the pav and green chutney on the other, if desired. Place a hot, crispy vada in the center and gently press the pav together.
👨🍳 Chef Tip:
Assemble the Vada Pav just before serving to keep the pav soft and the vada perfectly crispy.
Serve and Enjoy
Serve the Vada Pav immediately with fried green chilies, extra garlic chutney, and green chutney. Pair it with hot masala chai for a classic Mumbai-style snack.
👨🍳 Chef Tip:
Sprinkle a little dry garlic chutney over the vada before serving for an authentic street-style flavor and an extra burst of taste.
Chef Tips
- Use fresh pav.
- Cool filling before frying.
- Maintain medium oil temperature.
- Serve immediately after assembling.
- Use authentic garlic chutney.
Common Mistakes
- Use starchy potatoes like Russet or Yukon Gold for a softer filling.
- Add a pinch of asafoetida (hing) to the tempering for authentic flavor.
- Rest the batter for 5–10 minutes before frying for a smoother coating.
- Fry on medium heat to achieve a crispy exterior and fully cooked interior.
- Use fresh pav from a local bakery for the best texture.
- Homemade dry garlic chutney makes a noticeable difference in flavor.
- Serve immediately after assembling for the authentic Mumbai street-food experience.Serve the Vada Pav immediately with fried green chilies, extra garlic chutney, and green chutney. Pair it with hot masala chai for a classic Mumbai-style snack.
Recipe Variations
Cheese Vada Pav
Loaded with melted cheese.
Jumbo Vada Pav
Large-sized street-style version.
Schezwan Vada Pav
Spicy Indo-Chinese twist.
Grilled Vada Pav
Butter grilled for extra flavor.
Serving Suggestions
- Fried Green Chilies
- Garlic Chutney
- Green Chutney
- Masala Chai
- Cold Buttermilk
Storage Instructions
- Store potato filling for up to 2 days in refrigerator.
- Fry vadas fresh before serving.
- Avoid storing assembled Vada Pav.
- Keep chutney in airtight container.
Make Ahead Tips
The potato mixture and garlic chutney can be prepared one day ahead. Fry the vadas fresh and assemble just before serving.
Nutrition Information (Entire Recipe)
Did You Know?
Vada Pav originated in Mumbai during the 1960s and quickly became the city’s most famous street food. Today it is enjoyed across India and is often referred to as Mumbai’s burger.
Frequently Asked Questions
The batter may be too thin or the oil temperature too low.
Yes, lightly brush with oil and air fry until golden.
Dry garlic chutney is the traditional choice.
Yes, it can be refrigerated for up to 2 days.
It is affordable, filling and packed with flavor.